In this guide, I will show you how to use the Klangio Transcription Wizard, which makes transcribing so easy, it’s like magic!
Watch the video and continue reading to learn more:
Opening the Transcription Wizard #
The new Transcription Wizard will automatically open, once you start a new transcription. Simply head over to one of our apps and get started for free!
- Piano2Notes: Transcribe Pianos
- Guitar2Tabs: Transcribe Electric, Acoustic and Bass-Guitars
- Sing2Notes: Transcribe Vocals and Singing
- Drum2Notes: Transcribe Drums
- Klangio Transcription Studio: Transcribe Multiple Instruments all in one go
Scan2Notes does not transcribe, but scan your uploaded sheet music. You can find a specific tutorial on how to use Scan2Notes here.
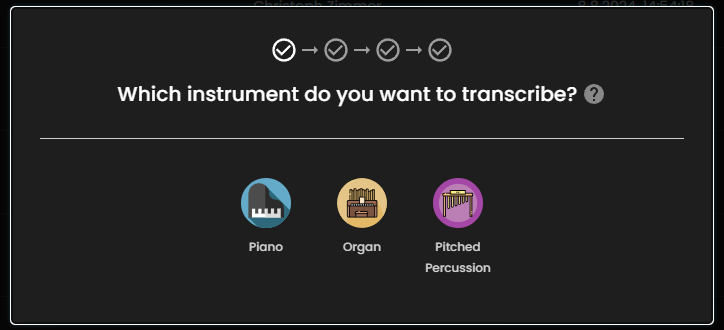
Step 1: Choosing an Instrument #
First, the Transcription Wizard will ask you to choose the Instrument you want to transcribe. Each App covers their own set of Instruments. Note that only one instrument can be transcribed at a time.
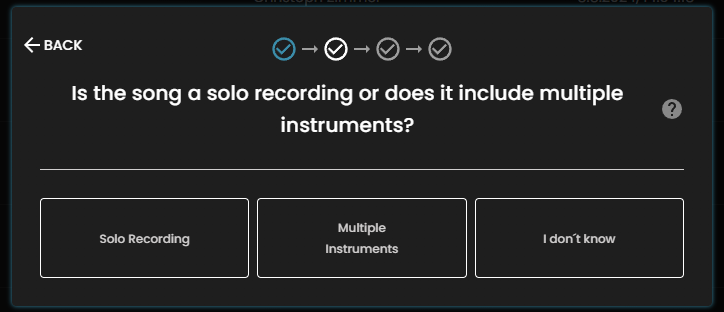
Step 2: Multiple-Instruments or Solo Recording #
Next, choose whether the song that you’ve uploaded is containing only the instrument that you’ve selected in the previous step (click on “Solo Recording”) or, if there are further instruments audible in the song (click on “Multiple Instruments”).
Step 2.5: Solo Recording Specific Settings #
If you’ve selected “Solo Recording” in the previous step, you are presented with another app specific step:
- Piano2Notes: Enable pedal markings.
- Guitar2Tabs: Choose Picking or Strumming Mode.
- Sing2Notes & Drum2Notes: No additional step.
Step 3: Mandatory App Specific Settings #
Each app will now present you further settings according to the instrument you’ve selected:
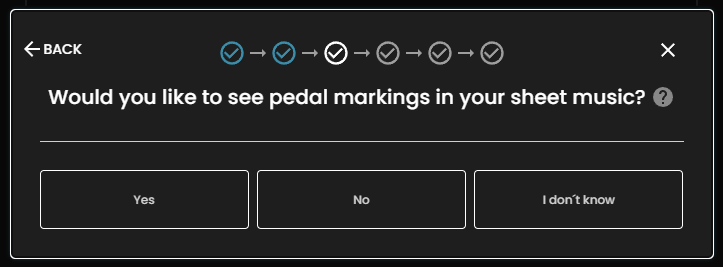
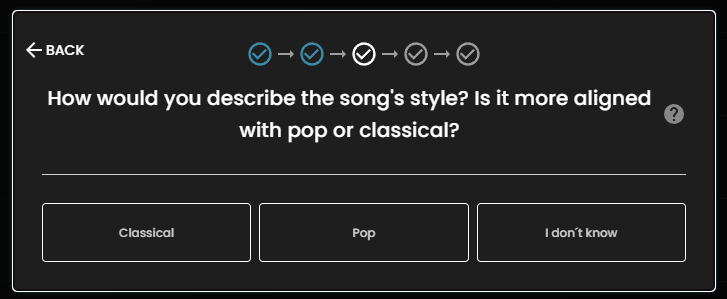
Piano2Notes & Klangio Transcription Studio: Choose the style of the song (Pop or Classical) & Pedal Settings #
If you are transcribing a piano as a solo instrument, you have the option to choose if you want to display pedal markings on your sheet music and if the music you have uploaded is more aligned with pop or classical music.
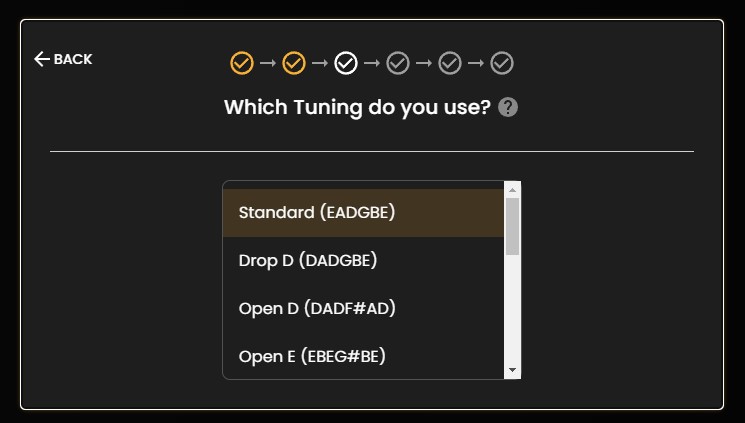
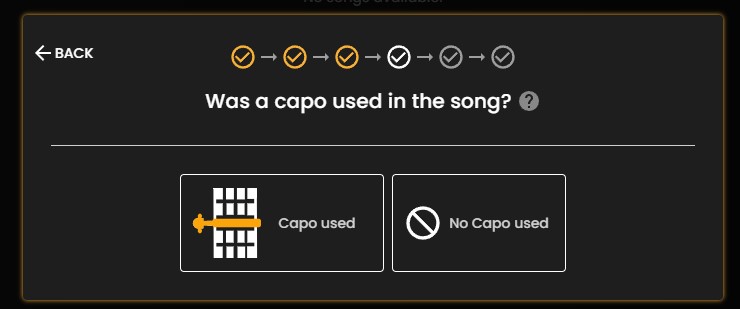
Guitar2Tabs & Klangio Transcription Studio: Choose the tuning and capo. #
If you are transcribing a guitar as a solo instrument, you can choose to add a capo to your transcription and change the tuning.
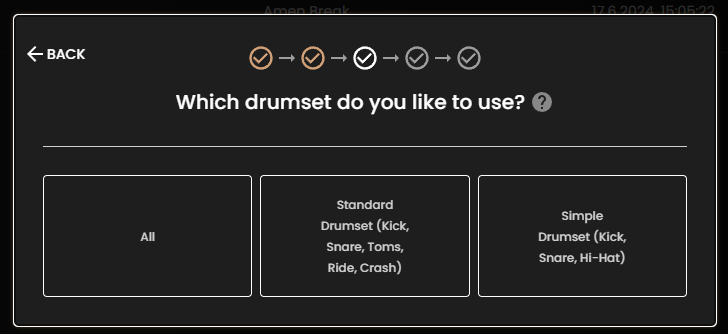
Drum2Notes & Klangio Transcription Studio: Choose set of Drums and Cymbals #
If you are transcribing drums as a solo instrument, you can choose to simplify your drum set transcription.
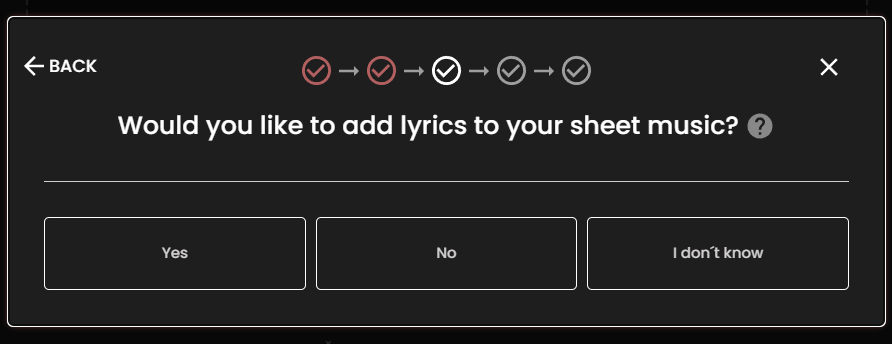
Sing2Notes & Klangio Transcription Studio: Choose to add lyrics. #
When your transcription contains vocals, you can choose to use the automatically detected lyrics into your sheet music.
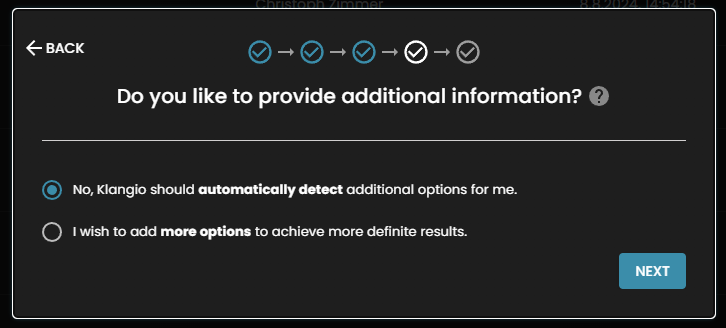
Step 4: Additional Information or Automatic Mode #
Next you can choose to add additional information to your transcription, which can improve the quality of the notes that will be generated. Read more about it here. If you are not sure, you can let Klangio apply the settings for you.
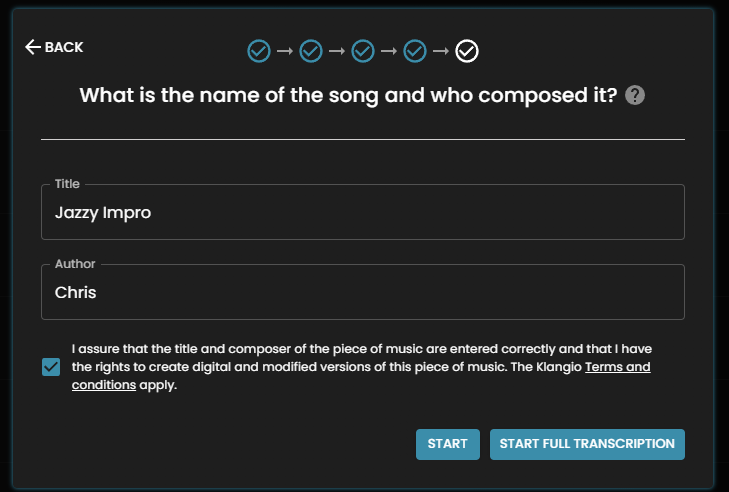
Step 5: Start the Transcription #
Finally, add the title and composer of the song and agree to the terms and conditions. You can then start a full transcription or a free demo transcription.
Feel free to check out the other articles in our Help Center, if you have questions about Klangio’s Transcription Wizard.


