

If you love discovering new music and want to learn, how to convert your piano playing into Sheet Music, then you’ve come to the right place! In this step-by-step tutorial, you’ll learn how to easily import MP3 files into Musescore to generate sheet music automatically.
The Frustration: MuseScore Won’t Allow MP3 File Imports
MuseScore is an incredible free tool for writing, editing, sharing and printing sheet music. Wouldn’t it be nice however to simply drag and drop an MP3 file into MuseScore to magically generate sheet music?
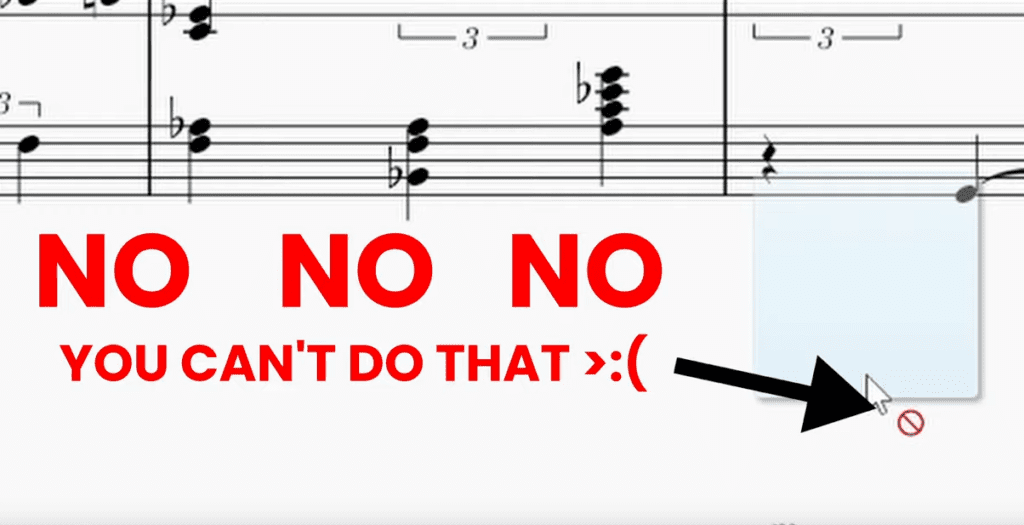
If you try to import an MP3, you’ll just get an error icon. This is because MuseScore only natively supports import formats like MIDI, MusicXML, and a few others – but not MP3 or WAV audio files.
So how can you work around this MP3 import limitation? The good news is there is a simple workaround using a free online audio-to-sheet music converter.
The Solution: Convert MP3 to MusicXML with Klang.io
The key to importing MP3 files into MuseScore is to first convert your MP3 into the MusicXML format that Musescore understands. This audio-to-sheet music transcription can easily be done using the free tool Klang.io.
Simply follow the step-by-step instructions or watch the YouTube video to follow along:
Step 1: Select Your Instrument

Go to Klang.io and choose the instrument that matches your MP3 – for example “Piano2Notes“, “Guitar2Tabs“, “Sing2Notes“.
Step 2: Upload Your MP3
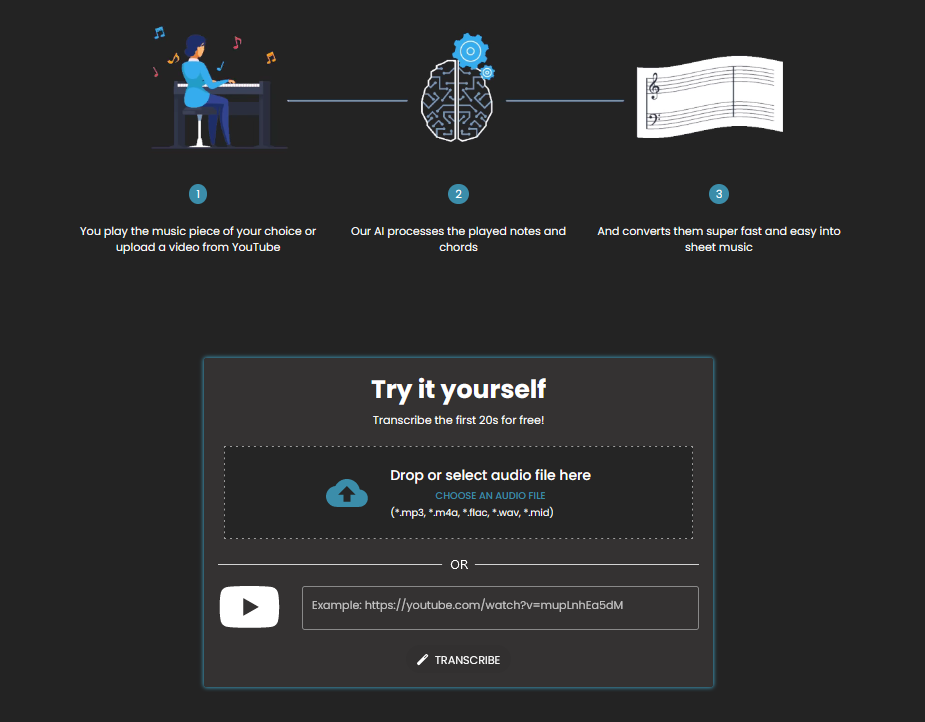
After selecting one of the applications, you can find a transcribe-window. Drag and drop your MP3 file directly into there. Alternatively, you can enter a YouTube URL if your song is hosted on YouTube.
Step 3: Starting your Transcription
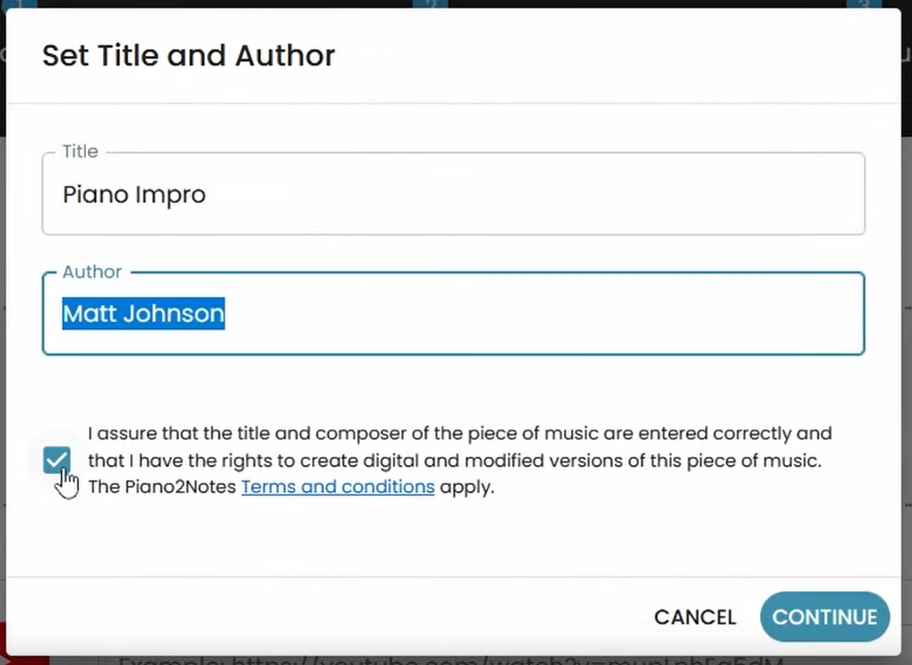
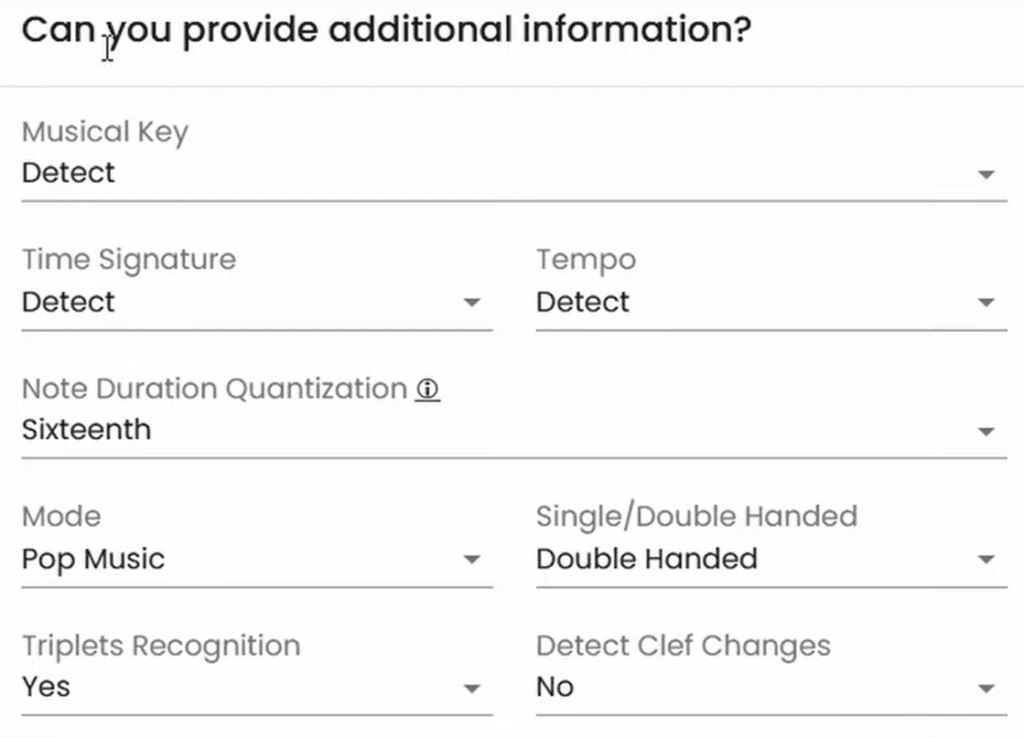
A dialogue window will appear, which allows you to edit the title and composer of your uploaded file. Furthermore, you can add additional information, which can improve the quality of the transcription.
Step 3: View the Transcription and Export as MusicXML
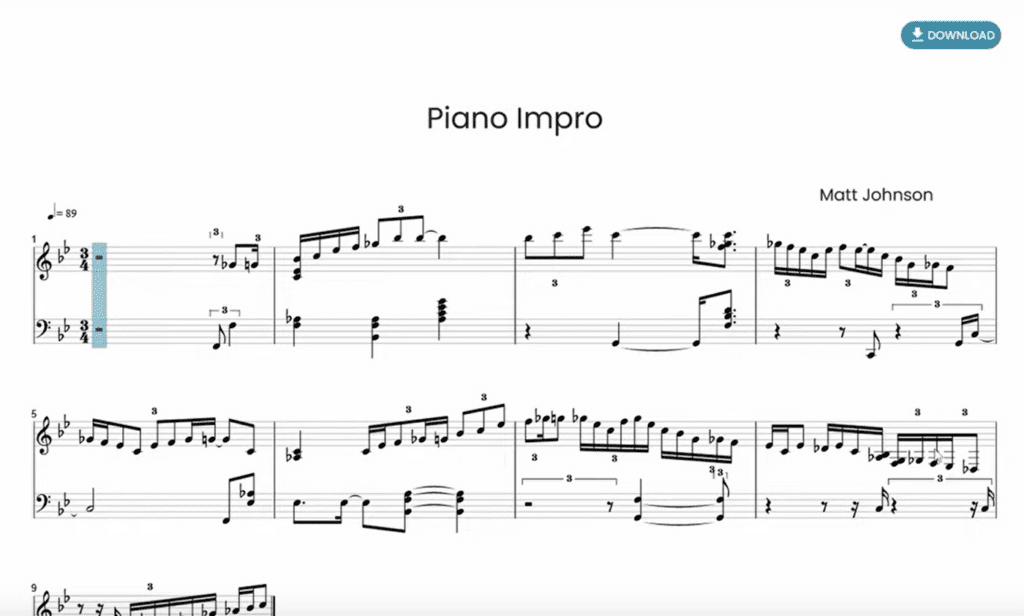
Now lay back, while Klangio automatically transcribe the notes and chords from your MP3 by analyzing the audio. You can now view the music sheet within your browser and export it by clicking on Download and choosing MusicXML as a format. Feel free to read more about the available formats here!
Step 4: Import MusicXML into MuseScore
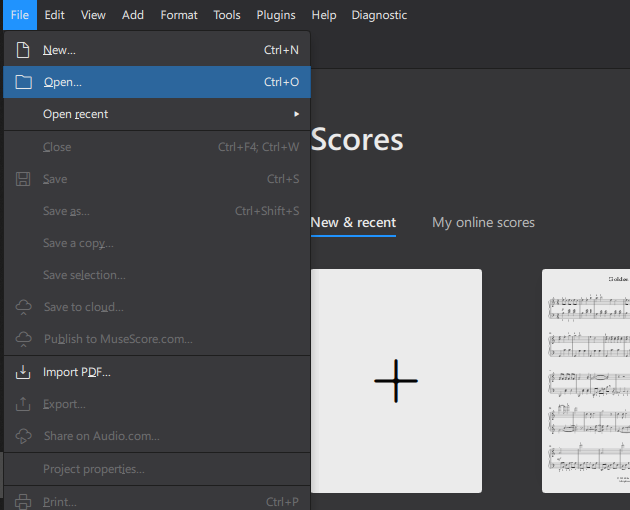
Finally, open Musescore and go to File > Open. Browse to your MusicXML file exported from Klangio. Voila, your MP3 has now been successfully imported and converted into editable sheet music!
Tips for Converting MP3 to MusicXML
Here are some additional pointers for this MP3 to MuseScore workflow:
- MusicXML retains more sheet music data than MIDI files, which only contain basic pitch and timing.
- Klang.io can transcribe piano, acoustic guitar, electric guitar, bass guitar, and vocals.
- For best results, use high-quality MP3s without background noise.
- Before publishing, proofread imported scores to fix any transcription errors.
- Consider upgrading to Klang.io Pro for advanced transcription options.
- Create a mesmerizing piano roll visualization from your transcription!
Share Your Transcriptions!
Now that you know this easy MP3 to Musescore trick, I’d love to see what custom sheet music you create! Feel free to link to your Klangio Transcriptions in the comments!
And if you have any other MuseScore power-user tips, let me know! I’m always looking to learn more transcription techniques to share with readers.
Thanks for reading – now go make some music!
