
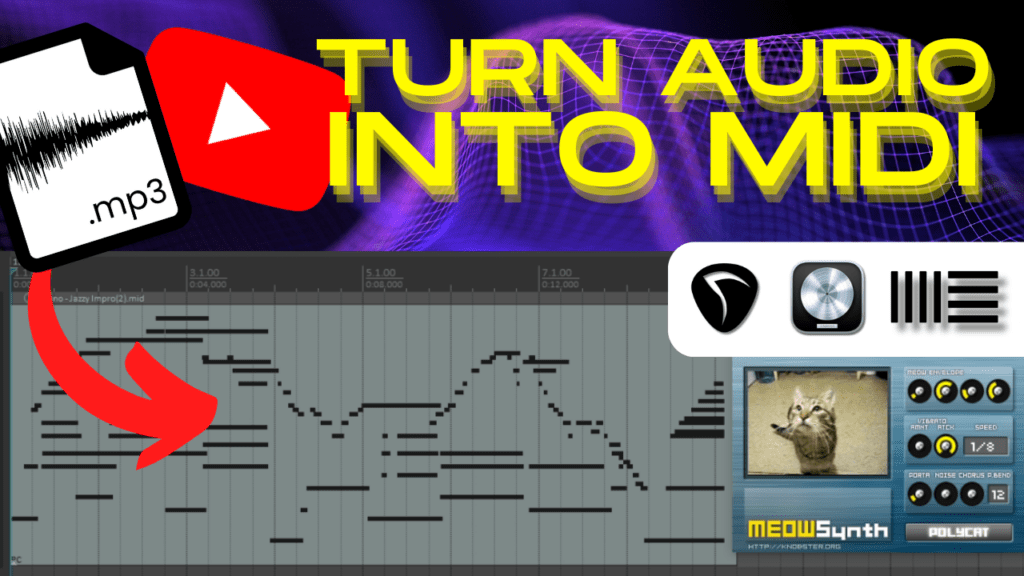
Have you ever wanted to convert your MP3 files into MIDI to use in your digital audio workstation (DAW) like Ableton Live, Logic Pro or REAPER? If so, you’ve come to the right place. In this step-by-step guide, I’ll show you how to convert MP3 to MIDI in just a couple clicks using Klangio’s transcription apps.
Continue Reading or watch the YouTube video:
What Type of Music is Best for Converting MP3 to MIDI?
Before we get started, it’s important to understand what type of audio files will convert best to MIDI format.
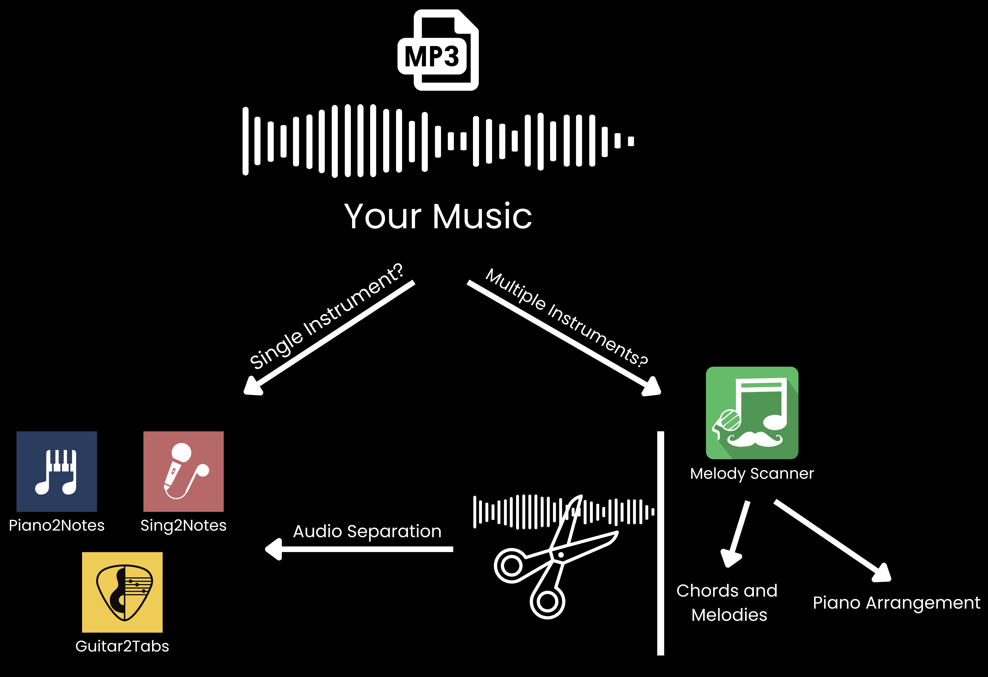
If you have a recording of a single instrument like piano, guitar and vocals, Klangio’s specialized transcription apps are perfect:
- Piano2Notes for piano and keyboard
- Guitar2Tabs for acoustic, electric and bass guitar
- Sing2Notes for vocals and singing
However, if your MP3 contains multiple instruments, you have two options:
- Separate the audio into instrument stems, then convert each stem with the single instrument apps above. Learn how to separate audio stems here.
- Use Melody Scanner to convert the full song into chord progressions and melodies or a piano arrangement. Then export the piano MIDI file.
For this guide, let’s keep it simple and say you have a piano recording you want to convert to MIDI format.
Step 1: Go to Klang.io and Upload Your Audio
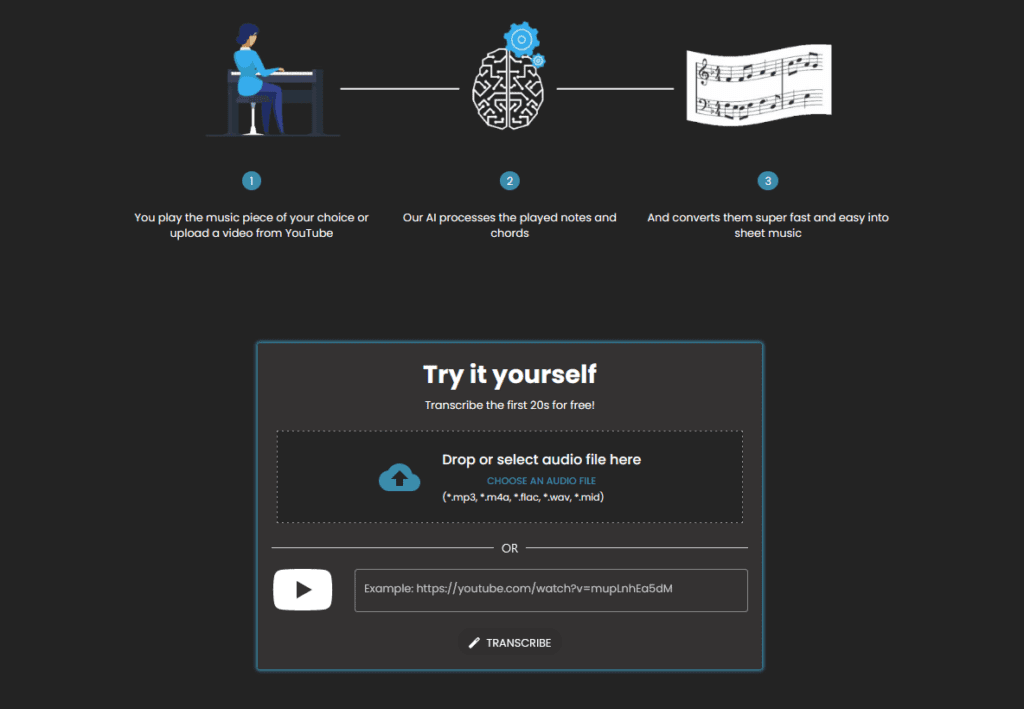
First, go to the Klangio website and click on Piano2Notes under Products.
Next, scroll down and drag and drop your MP3 or other audio file into the box, or paste in a YouTube link of the song. You can edit the title and composer if needed. Then click Next.
Step 2: Add Any Additional Song Info (Optional)
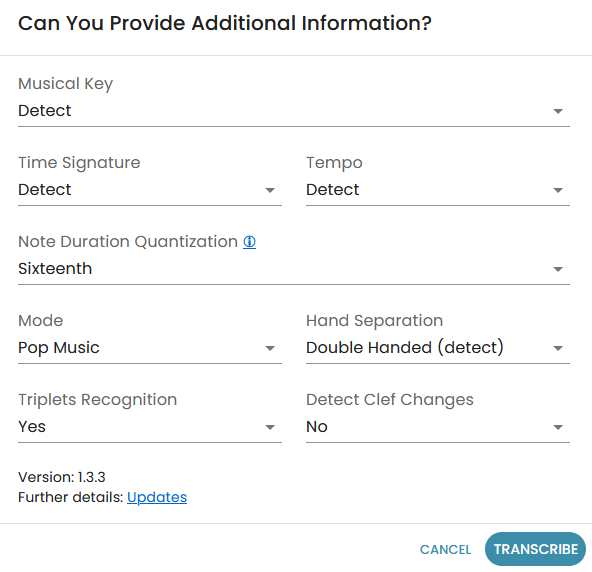
On the next screen, you can enter any other details about the song like key, tempo, time signature, etc. If you’re unsure about these, you can leave them as they are.
Click Transcribe to continue.
Step 3: Get a Free Transcription Demo
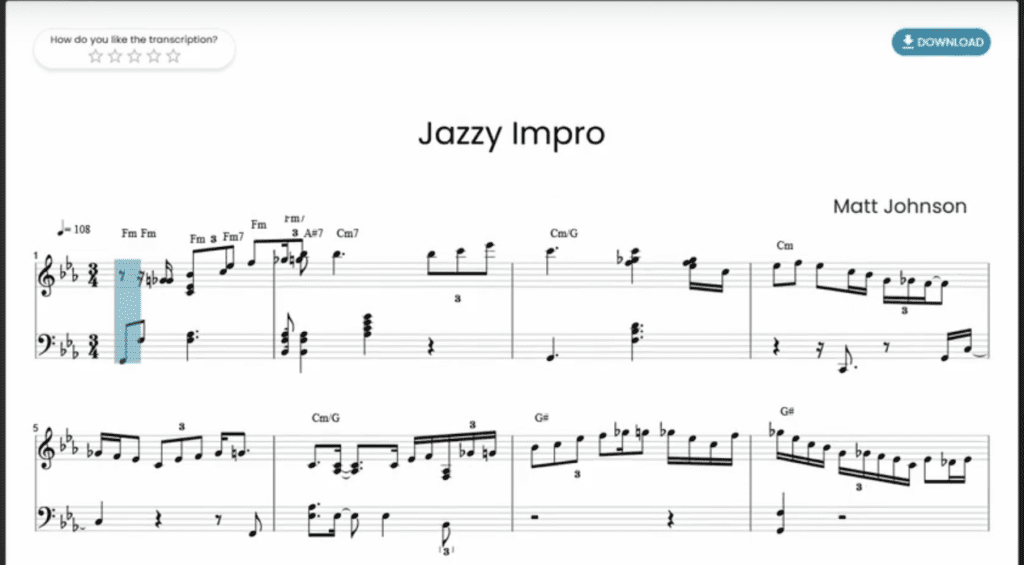
Within seconds, you’ll get a free demo transcription of your audio file.
The transcription will include the detected notes, chords, tempo, key, time signature and other musical information.
If the demo meets your needs, click Download to export a PDF of the sheet music transcription.
Step 4: Start a Full Transcription
To get the actual MIDI file, scroll down and click Start Full Transcription.
Then click Download again and choose MIDI or Unquantized MIDI. I’ll explain the difference between these formats below
Step 5: Import the MIDI File into Your DAW
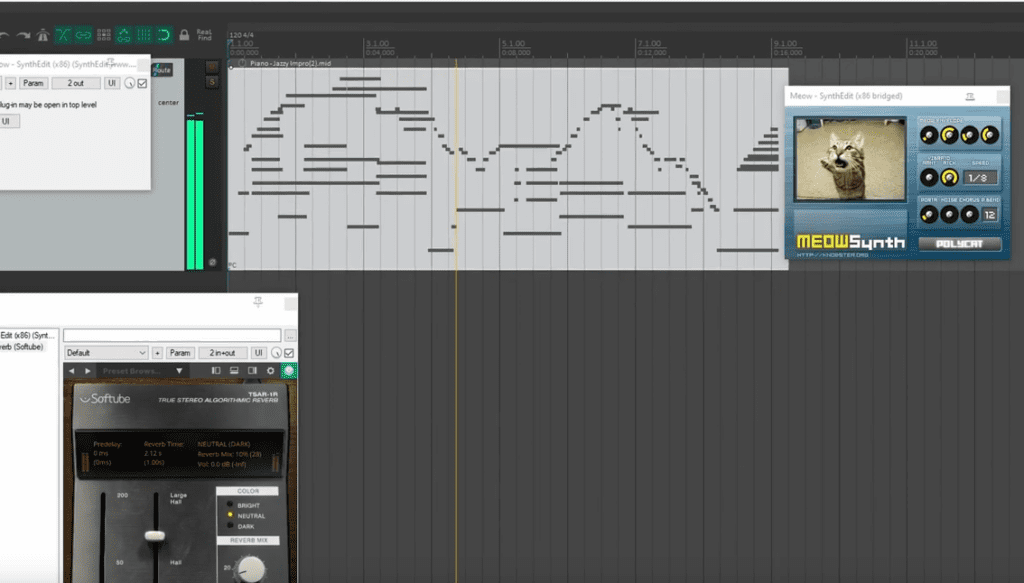
Now open your digital audio workstation like Ableton Live, Logic Pro or REAPER.
Drag and drop the downloaded MIDI file right into your project. That’s it!
As promised, the process is super simple. Now you can load a virtual instrument plugin and play back the MIDI transcription.
Quantized vs Unquantized MIDI – What’s the Difference?
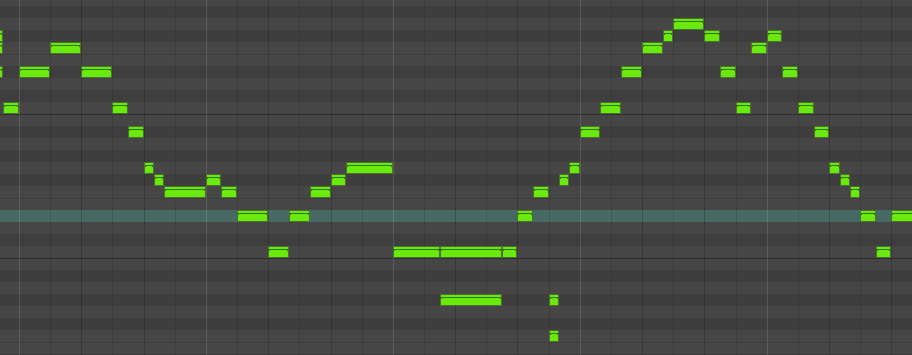
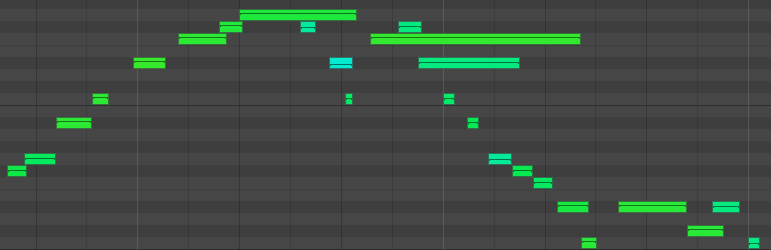
Let’s quickly cover the difference between the quantized and unquantized MIDI options.
When you import both into your DAW, you can expand the quantized MIDI across two tracks – one for the right hand and one for the left.
Comparing the notes, the quantized MIDI aligns strictly to the tempo grid while the unquantized represents the original timing more accurately.
So in most cases, unquantized MIDI better captures the natural human performance.
Recap and Next Steps
To quickly recap how to convert MP3 to MIDI:
- Go to Klangio and upload your audio
- Get a free transcription demo
- Start a full transcription
- Export MIDI and import into your DAW
If you found this tutorial helpful, you might want to know more about arranging songs for the piano!
We’re also releasing a VST plugin so you can convert audio to MIDI directly within your digital audio workstation.
Let me know in the comments if you have any other questions. I’m happy to help explain further!
